7 Ways to Take Screenshots on WhatsApp View-Once Images
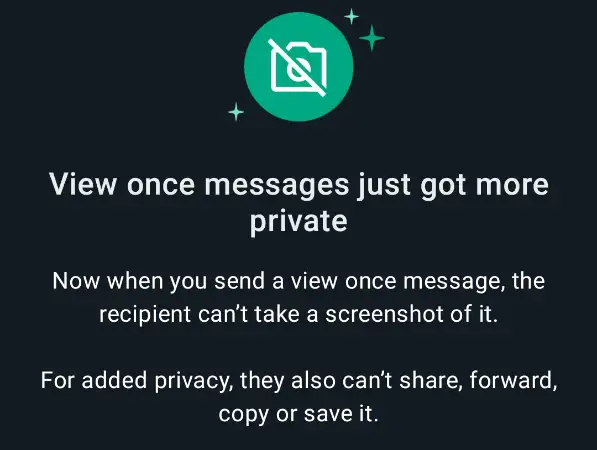
Whatsapp has a privacy feature called “View Once“, where you can send self-destructing and disappearing media files (images and videos) to your contact.
The recipient cannot share, forward, save or take a screenshot of your image or video file.
When you attempt to do so, you may get an error message that says;
- Taking screenshots isn’t allowed by the app or your organization
This article will focus on how to bypass this view-once restriction and show you several methods you can consider using to take a snapshot of your screen interface.
How to Bypass and Take a Screenshot of View-Once Disappearing Media on WhatsApp?
Here are the seven (7) different ways to do so.
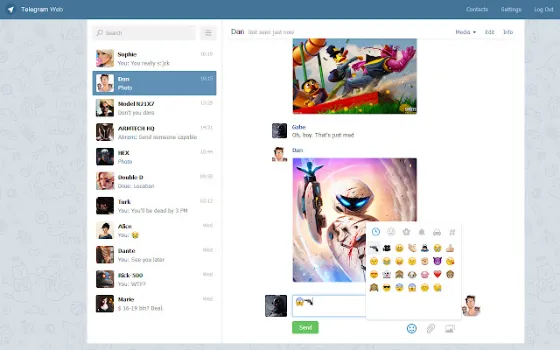
Method 1: Use WhatsApp Web
You can use the web version of WhatsApp without needing a phone.
When you use WhatsApp Web on a desktop computer, you can use screen recording software to capture screenshots of your app interface.
For Windows, you can use the following;
- Bandicam Screen Recorder (advanced screen recorder for Windows – partial or full screen)
Bandicam offers the capability to record videos of the entire screen or designated sections while simultaneously providing the functionality for taking screenshots via designated hotkeys.
It is especially handy for various applications, such as documenting in-game experiences, elucidating technical issues, or preserving specific presentation slides.
- Screencast-O-Matic (create screencast videos with editing features)
- Snagit (Professional Screen Capture with screen drawing, audio recording and more)
For macOS, you can use the built-in video screen recording feature. Press <Command> + <Shift> + <5>, select <Record Entire Screen> and click <Record>.
To end the recording, press <Esc>. The recordings will be saved to the desktop (default location).
Method 2: Screen Mirroring
Screen mirroring is the technology that reflects (mirrors) your screen from one device to another.
You can take a screenshot when you mirror the screen from one phone to another.
Mirroring from Photo to Phone
Both phones must install the same screencasting application and be connected to the same network, e.g. in the same home Wi-Fi.
You can use any of these three (3) apps below;
Mirroring from Phone to Windows PC
In Windows 10, an in-built feature called the <Connect> app will enable screen mirroring from your phone to your Windows machine.
You can then use any recording tool to record your screen.
To begin, make sure both devices are on the same Wi-Fi network. Next, search for the word “Connect” using Windows Search to find the <Connect> app. Finally, click on <Projecting to this PC>.
Depending on the make & model of your phone, search for the word “Wireless Projection” or “Cast” and enable it. You should be able to detect your PC’s name and connect to it.
On Windows 10, you will receive a prompt to confirm the connection. Click “OK“.
Use any screen recording software for Windows 10 devices, such as RecMaster, to start your screen capturing.
Method 3: Using the Zoom Screen Sharing feature
Zoom allows you to share your entire desktop or phone screen or even a portion of your screen with another device. This means you can perform screen recording on your mirrored device.
How to start Zoom screen sharing?
For iOS, find the button in your Zoom meeting controls called <Share Content>.
For Android, Windows, Mac & Linux, it is named <Share Screen>.
Once successfully cast onto another device, use any screen recording tool to capture the screenshot or record a screen video.
Make sure that you have configured the screen-sharing feature beforehand.
Zoom supports Windows, macOS, Android, iOS and Linux operating systems.
Method 4: Disable Hardware Acceleration in Chrome
Streaming services like Netflix and protected apps use your device’s hardware to prevent you from taking screenshots and screen recording.
Disabling hardware acceleration in your Chrome web browser can fix this issue when using the WhatsApp Web version.
Follow the steps below;
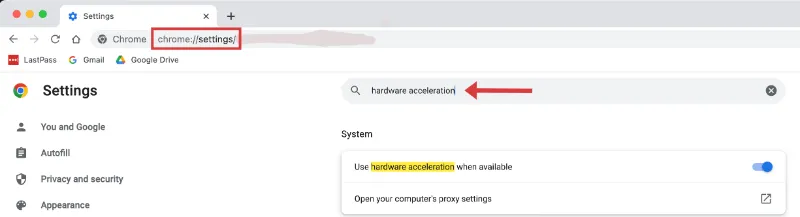
- Open Chrome web browser
- Type
chrome://settings/into the URL address bar and press <Enter>. - Search <hardware acceleration>.
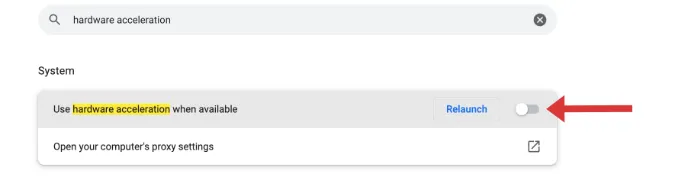
- Toggle OFF the button that says <Use hardware acceleration when available>.
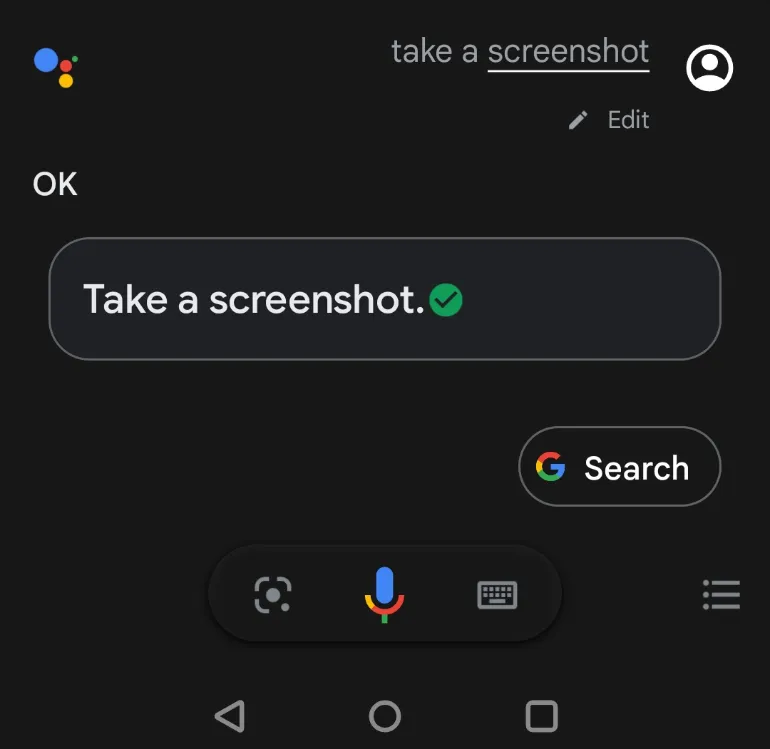
Method 5: Use Google Assistant
This technique automates taking screenshots on your device using the Google Assistant app.
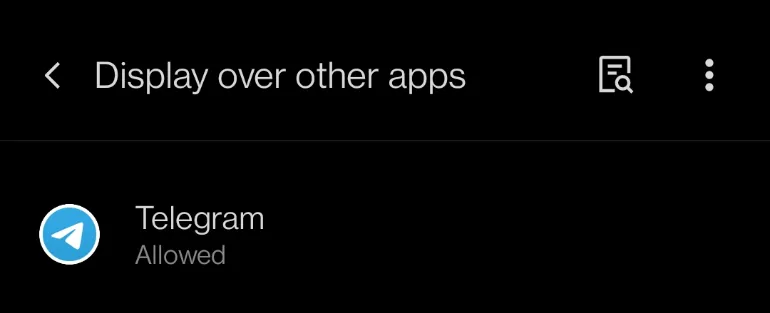
This works well for apps not supporting screenshot gestures, such as the WhatsApp view-once feature and Telegram Secret Chat mode, and applies to iOS and Android users.
If you have problems taking screenshots using Google Assistant, you can configure its settings to fix it.
Make sure your settings are correct.
- Open Google Assistant and click on your profile picture (top-right corner).
- Scroll down and click <General> menu
- Ensure that <Google Assistant> and <Use screen context> are toggled ON.
Now, open Google Assistant and say, “Take a screenshot“.
The app automatically takes a screenshot of your screen and saves it to your photo album.
Method 6: Use ADB
This method requires an Android phone.
Android Debug Bridge (ADB) can take a snapshot or record WhatsApp screen interactions using simple commands.
Before this, you need to install Android Studio and enable USB debugging by going to Settings > About Device > Tap Build Number seven times.
Use this command to take a screenshot;
adb shell screencap -p > screenshot.jpgUse this command to take a video screen recording;
adb shell screenrecord /sdcard/videorecording.mp4Method 7: Take a Photo using Another Device
This method is the easiest and fastest if you are not particular about the image quality of the screenshot.
Use another phone to take a picture of the screen you want to capture.
You can do this as often as many times as you want until the image quality is satisfactory.
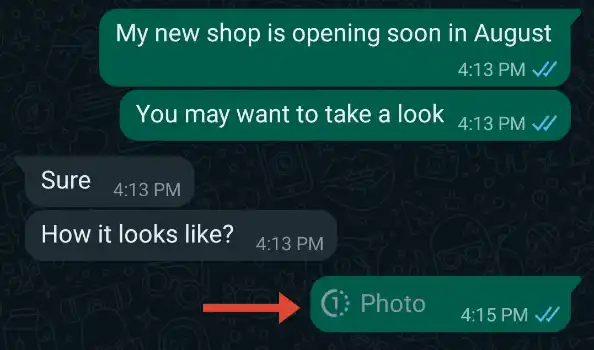
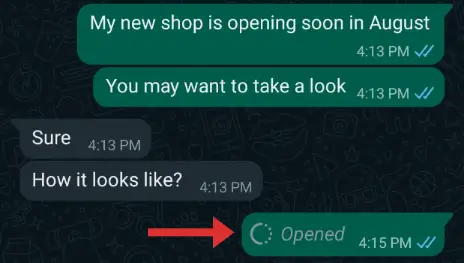
Note that you need to keep the WhatsApp view-once image OPEN while doing so.
Once you exit the image, it will be automatically deleted.
** Recommendations **
For bypassing internet censorship, blocked sites and yet browsing with online anonymity., only choose the following reliable VPN services;
- NordVPN (Has the most number of servers, over 5000+, in 60 countries to choose from. Uses a unique Onion Over VPN feature to mask your online traffic for maximum anonymity.)
- Surfshark VPN (One of the few providers that allow unlimited device connections with just a single subscription. You can connect all your devices with no logs policy)
- IPVanish (Supports all platforms, routers, and TV. Uses SOCKS5 web proxy feature for faster anonymous connection speed)
7 Ways to Take Screenshots on WhatsApp View-Once Images Read More »