7 Ways To Fix Telegram Message Sent But Not Received Error
If you’ve landed on this page, you’re probably scratching your noggin about why your Telegram messages are sent but not received.
Trust me, it’s as confusing as finding out that your pet goldfish is actually a better listener than some people you know.
In this guide, we’ll dissect the why’s and how’s, from network glitches to app-related quirks, we’ve got you covered with 7 foolproof methods to get those messages back on track.
Verifying the Issue: Checks Before You Troubleshoot
To avoid unnecessary troubleshooting, let’s narrow down why your Telegram messages are sent but not received.
Check Recipient’s Status
Ever wonder why is Telegram showing one tick but online? It could mean the recipient hasn’t opened Telegram yet. No need to start troubleshooting your app if the issue lies on the other end.
Are You Blocked?
It’s awkward to consider, but maybe you’ve been blocked. No judgment here! It happens to the best of us. Blocked? You’ll see one tick but no delivery.
Test with Another Contact
Before banging your head against the wall, send a message to another contact. If that works, the issue might be specific to your original chat.
How To Fix Telegram Message Sent But Not Received Error
Here are the seven (7) ways you can use to resolve the problem;
Method 1: Check Blocked Contacts
It’s a convenient feature when you want to cut off communication, but sometimes it works a bit too well.
If someone claims they haven’t received your Telegram messages, you might’ve unintentionally blocked them. So let’s roll up our sleeves and figure this out!
Step-by-Step Guide:
- Open Telegram App: First things first, open the Telegram app on your smartphone or desktop.
- Navigate to Settings: You’ll find the “Settings” icon usually shaped like a gear at the bottom-right on Android or top-left on iOS. Click on it.
- Go to Privacy and Security: Scroll down and you’ll find a section called “Privacy and Security.” Tap on it.
- Check Blocked Users: In this section, you’ll see an option that says “Blocked Users.” Click it and a list will appear.
- Review the List: Scan through the list to see if the person you’re trying to communicate with is on there.
- Unblock if Necessary: If you find the person, click on their name and then hit “Unblock.”
- Test it Out: After unblocking them, try sending a message to confirm it’s been resolved.
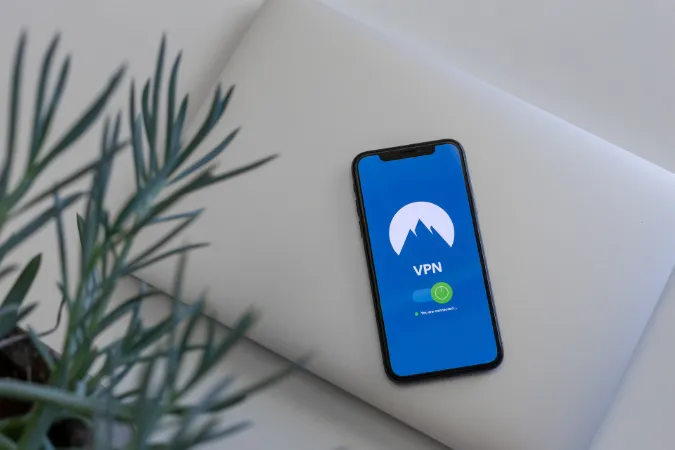
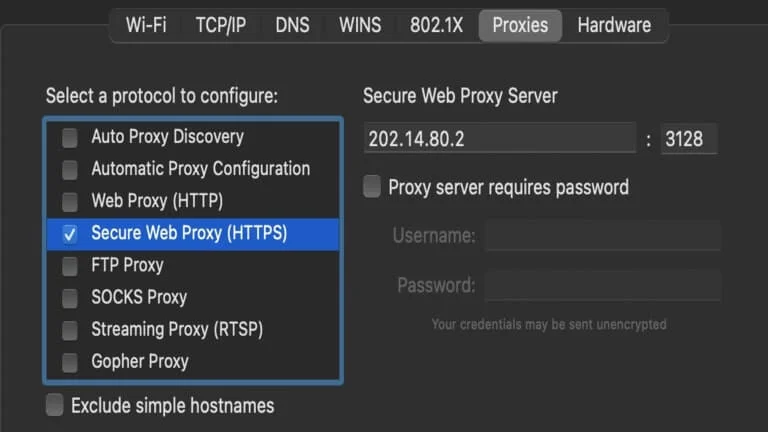
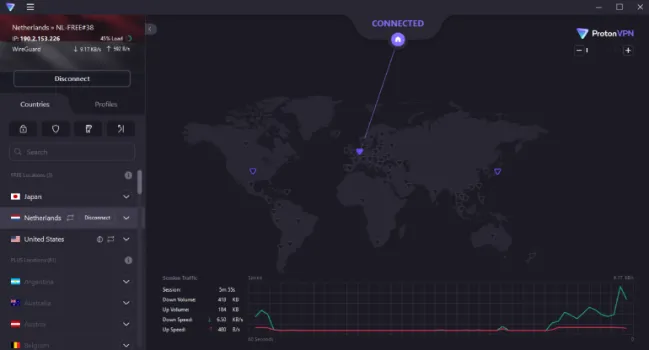
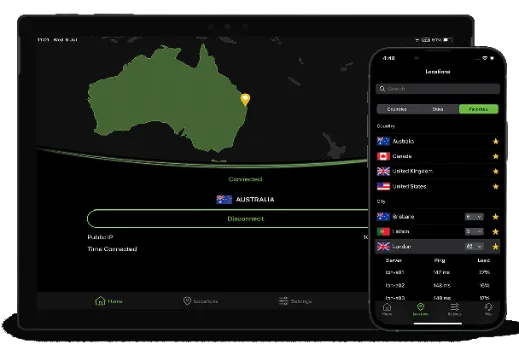
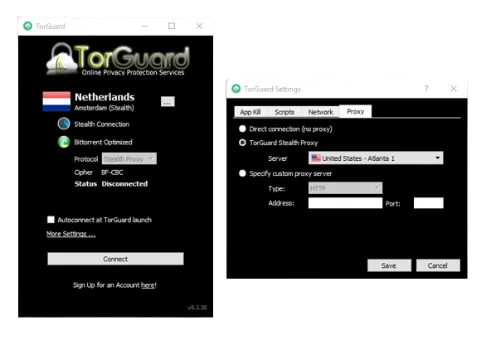
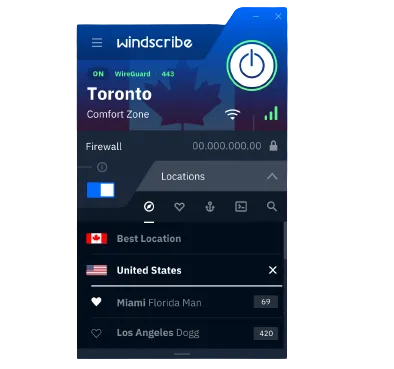
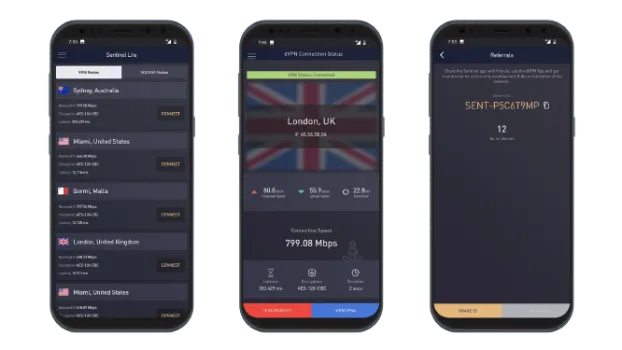
Method 2: Disable VPN
Are you a fan of virtual private networks (VPNs) for that extra layer of security or access to geo-restricted content?
While they’re great for anonymity, VPNs can sometimes interfere with delivering your Telegram messages. Let’s dive into how you can disable your VPN to test if it’s the culprit.
Step-by-Step Guide:
- Identify the VPN App: Locate the VPN app on your device. Common ones include NordVPN, ExpressVPN, and CyberGhost.
- Open VPN Settings: Launch the app and go to the settings or preferences menu, usually represented by a gear icon.
- Disconnect: There should be an option to disconnect or turn off the VPN. Tap on it.
- Verify: Make sure that your VPN is fully disconnected. You’ll usually see a notification or symbol indicating the VPN status.
- Send a Test Message: Now, go back to Telegram and try sending a message to see if it gets through this time.
- Check Internet Connection: Sometimes disabling a VPN might mess with your connectivity. Verify you’re still connected to Wi-Fi or cellular data.
Method 3: Check App Permissions
Permissions, permissions, permissions! Yep, we’ve all blindly clicked “Allow” when new apps ask for access to various parts of our phones.
But sometimes, altering or denying specific permissions can cause an app like Telegram to malfunction. So let’s set things right!
Step-by-Step Guide:
- Open Device Settings: Head to your device’s main settings. You’ll usually find this as a standalone app or within your phone’s dropdown menu.
- Navigate to Apps or Applications: The wording might vary, but you’re looking for a section that lists all the apps installed on your device.
- Locate Telegram: Scroll or search until you find Telegram and then tap on it.
- Go to Permissions: There should be a “Permissions” tab. Tap it to see what permissions Telegram currently has.
- Check Necessary Permissions: Make sure that Telegram has permission for storage, contacts, and notifications at the very least. These are crucial for the app’s functionality.
- Toggle Permissions: If any of the necessary permissions are disabled, toggle the switch to ‘Allow.’
- Restart Telegram: Close Telegram completely and relaunch it to ensure the changes take effect.
- Send a Test Message: Try sending a message to see if the issue is resolved.
Method 4: Check the Telegram Server Status
Sometimes, the issue isn’t you; it’s them. Servers can go down; when that happens, there’s not much you can do except wait it out. So, let’s find out how to check the server status.
For All Users:
- Visit Downdetector: Head to Downdetector’s Telegram page.
- Check Server Status: Look for any reports of server outages or issues.
- Visit Telegram’s Twitter: Often, Telegram will post server updates on their official Twitter account.
- Check Reddit: Sometimes, the Telegram subreddit is a reliable source for server issues. Users will post if they’re experiencing similar problems.
What does one tick on Telegram mean?
A single tick indicates the message has been sent but not received. This could be due to server issues, which you can verify through Downdetector or other social channels.
Method 5: Clear Cache and Data
Picture your device’s cache like a cluttered desk—it might not bother you at first, but eventually, you’ll have trouble finding anything.
Clearing the cache is like a Marie Kondo session for your device; it only keeps what truly matters. Here’s how:
For Android Users:
- Go to Settings: Navigate to your ‘Settings’ app and select ‘Apps’ or ‘Applications.’
- Find Telegram: Scroll through your app list until you find Telegram.
- Tap ‘Storage’: Once you’re in the Telegram settings, you’ll see a ‘Storage’ option. Tap it.
- Clear Cache and Data: You’ll find the buttons for ‘Clear Cache’ and ‘Clear Data.’ Hit both.
For iOS Users:
- Unfortunately, iOS doesn’t offer an easy way to clear cache for individual apps. However, reinstalling the app (Method 4) also clears the cache.
How do I know if my text was delivered on Telegram? If you see two ticks, you’re golden! Cache issues can sometimes interfere with message delivery, so keep an eye out.
Method 6: Check Cloud Settings
In the digital age, the cloud is basically our lifeline, right? We store everything there, from cute dog photos to important documents.
But, if your Telegram cloud settings are messed up, it might just be the reason your messages aren’t getting delivered. Let’s fix that!
Step-by-Step Guide:
- Open Telegram: You know the drill; launch the Telegram app on your device.
- Navigate to Settings: That handy gear icon should be your next destination.
- Select ‘Data and Storage’: This is where Telegram manages all things storage and cloud-related. Tap on it.
- Go to ‘Storage Usage’: This will reveal all your storage-related settings, including cloud options.
- Check Automatic Media Download: Telegram has a setting where it can restrict downloads based on your network connection. Ensure it’s not set to prevent downloads when you’re trying to receive messages.
- Inspect Chat Backup: Make sure you’ve enabled chat backup. This is more of a preventative measure for future issues.
- Refresh Telegram: Exit out of Telegram and open it again to apply any changes you’ve made.
- Send a Test Message: Time for another test run! Send a message and see if it’s received on the other end.
Method 7: Update the Telegram App
Still struggling with undelivered messages? An outdated app can be the cause of the problem. It’s time to update Telegram to the latest version and see if that works.
For Android Users:
- Go to Google Play Store: Open the app and tap on the menu icon (three horizontal lines).
- Select ‘My apps & games’: This will show you a list of apps with available updates.
- Find Telegram: If you see Telegram in that list, tap ‘Update’ next to it.
For iOS Users:
- Open App Store: Locate and open the App Store on your device.
- Tap on ‘Today’ at the Bottom: Then tap on your profile icon at the top.
- Find ‘Updates’: Scroll down to find a list of apps that need updating.
- Update Telegram: If Telegram appears, tap the ‘Update’ button next to it.
Frequently Asked Questions (FAQ)
Ah, the FAQ section—your go-to spot for all those burning questions that didn’t quite fit into the main text. Let’s dive in!
Q1: Why is Telegram showing one tick but online?
A single tick usually means the message is sent but not yet received. However, “online” status may indicate that the app is running in the background, but the recipient hasn’t opened the chat.
Q2: How can I tell if someone has blocked me on Telegram?
If you can no longer see the person’s last seen or online status, and your messages are stuck with one tick, there’s a high chance you’ve been blocked.
Q3: Are Telegram messages encrypted?
Telegram offers end-to-end encryption, but it’s not enabled by default. You have to start a “secret chat” to activate this feature.
Q4: Can Telegram messages disappear on their own?
Messages in “secret chats” can be set to self-destruct; otherwise, messages don’t typically disappear.
Q5: How do I use Telegram without a phone number?
You can’t sign up for Telegram without a phone number, but you can use services to bypass Gmail phone verification as an alternative.
Conclusion
So there you have it, folks! We’ve delved deep into the perplexing world of “Telegram messages sent but not received.”
From checking your connection to updating the app, and even doing a little server sleuthing, we’ve covered the most effective, reliable, and accurate methods to troubleshoot this pesky issue.
If you’ve tried everything and still find yourself in message purgatory, it might be time to contact Telegram support.
Remember, technology has its quirks, but a little patience and a dash of know-how can go a long way. Happy texting, and may your ticks always turn into double ticks!
7 Ways To Fix Telegram Message Sent But Not Received Error Read More »