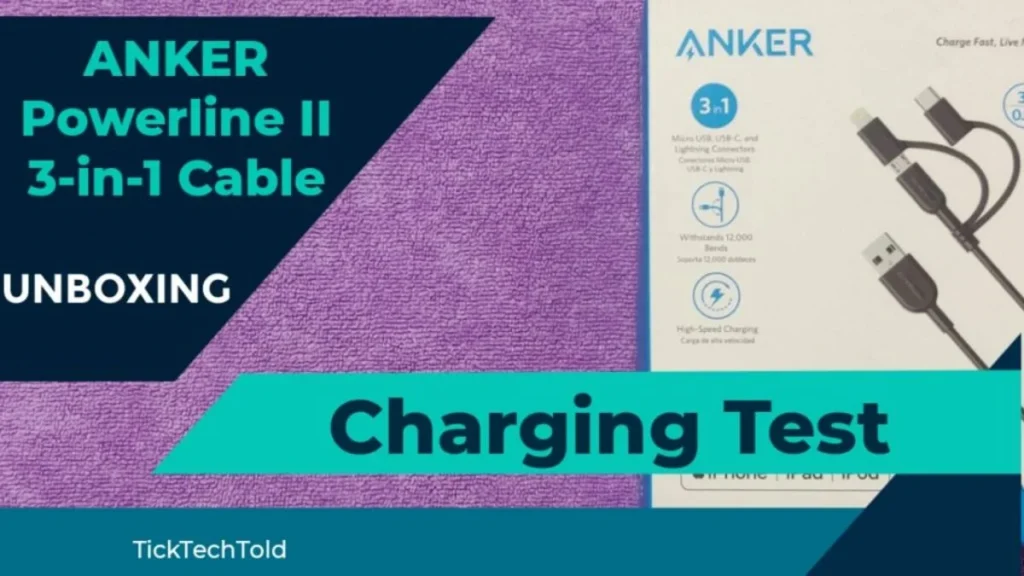
Charging Speed Test Review: Anker Powerline II 3-in-1 Cable
Need to charge both Android and Apple devices? It’s time to get a reliable cable that charges.
In this article, we will unbox the Anker Powerline II 3-in-1 cable and give it a charging speed test on a mobile phone to see if it works well.
You can watch the unboxing and charging test here as well.
When facing a mixture of Android and Apple devices, there is a real need to get a reliable and trustworthy 3-in-1 cable that charges them without giving any problems.
Do you really need a 3-in-1 cable?
Nowadays, iPhones and iPads all require their lightning cables to be MFi-certified to charge correctly. This is especially so for the latest models, such as iPhone 12 and 13.
Android devices mainly come in USB-C connectors; some even come with a faster-charging specification called the Power Delivery (PD) that only selected cables support.
Other digital devices like speakers, microphones and portable fans still rely primarily on MicroUSB connectors.
Why is having a trusted & reliable 3-in-1 cable necessary?
On the physical aspect, your cable should be sturdy in durability to prevent degradation. Furthermore, it should carry a warranty for your purchase. Lastly, the different connectors must be charged, even as with the latest iPhone devices, which require cables to be MFi-certified.
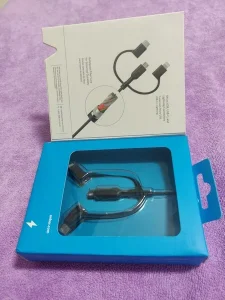
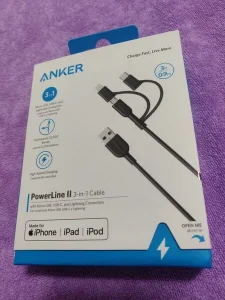
Unboxing the Anker Powerline II 3-in-1 cable box
Let’s look closely at the contents inside the Anker Powerline II 3-in-1 cable box.

Product Release Date
June 2017.
Available Colors
Either in Black or White colour choice.
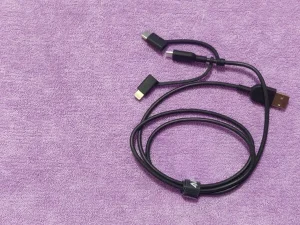
Cable Components
On one end;
- USB Type-A
On the other end;
- USB Type-C
- MicroUSB
- Lightning
Cable Length
The cable length is about 35 inches or 90 centimetres.
Cable Weight
The cable weight is about 0.96 ounces or 27 grams.
Charging Speed Test on Anker Powerline II
Here’s the speed test conducted.
Charging Speed Test
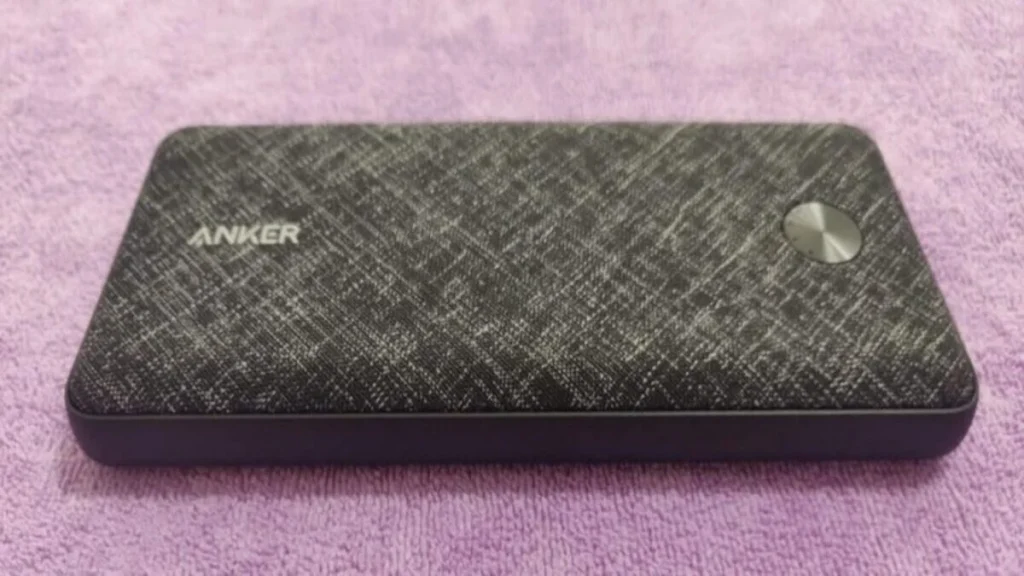
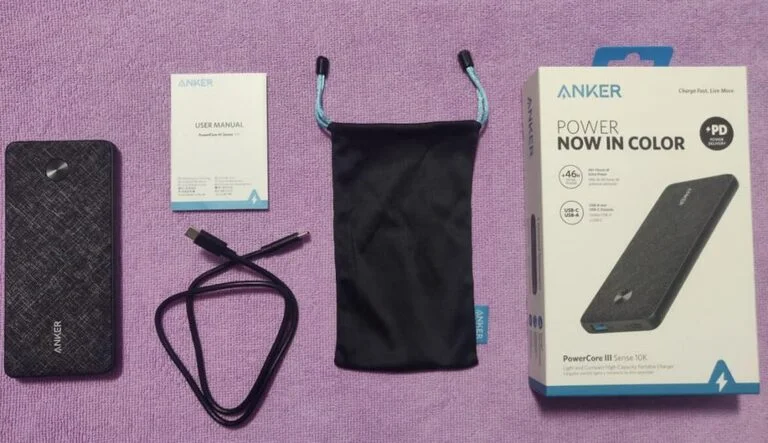
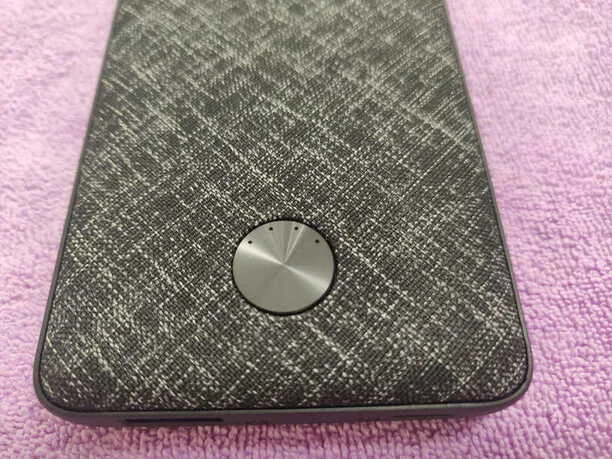
Now, use the Anker Powerline II to do a charging speed test using a good power bank called the Anker Powercore 3 Sense 10K.
I had previously made a separate video on this amazing Anker power bank.
Be sure to check the description below for the link to this video.
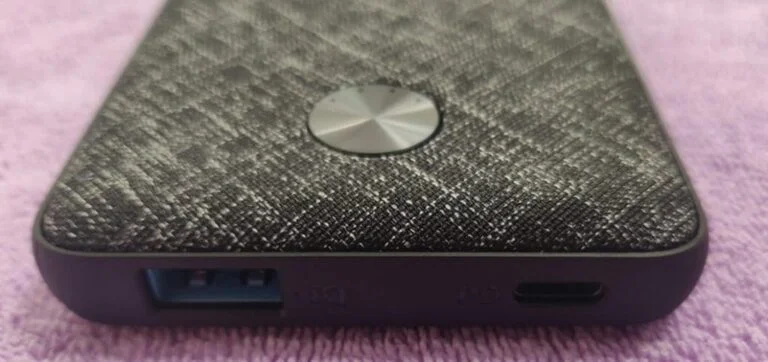
The phone here is an Android phone that also uses a USB-C connector.
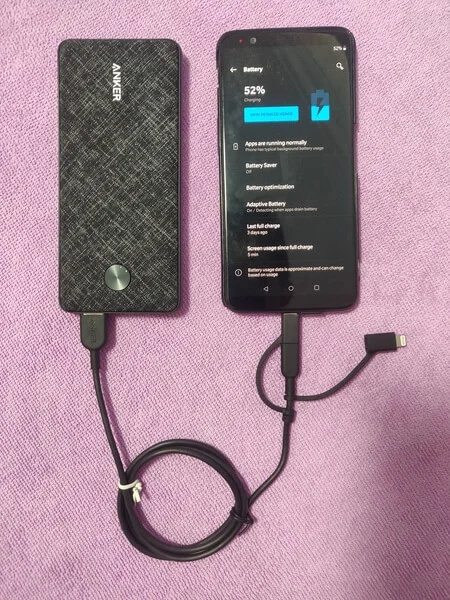
As we can see from here, the phone is being charged successfully by the Anker Powerline II 3-in-1 cable via the Anker power bank.
Warranty
Anker products come with a lifetime warranty.
Compatibility
Compatible With:
– iPhone 11/ 11 Pro/ 11 Pro Max/ X / 8 / 8 Plus / 7 / 7 Plus 6s / 6s Plus / 6 / 6 Plus / 5s / 5c / 5
– iPad Air / Air 2 / Pro, iPad mini / mini 2 / mini 3 / mini 4, iPad (4th generation)
– iPod nano (7th generation) and iPod touch (5th / 6th generation)
– Galaxy Note 8
– Galaxy S8 / S8+ / S9
– HTC 10
– Sony XZ
– LG V20 / G5 / G6
– Xiaomi 5
– Virtually ALL Android & Windows phones & tablets
– Samsung, HTC, Motorola, Nokia, LG, Sony, PS4, Xbox, PS Vita, GoPro
– GPS devices, portable chargers, Bluetooth speakers, wireless keyboards, e-readers, cameras & camcorders
Conclusion
We unboxed the contents, examined the physical cables, and tested the Anker cable’s charging capabilities.
The Anker Powerline II 3-in-1 cable is strong and durable in physical appearance. It is built to withstand degradation to a certain extent of usage.
For charging-wise, we tested it on both iPhones and Android devices, and it delivers charging capabilities successfully without any problems.
It works with the most reliable power banks, such as the Anker PowerCore III Sense 10K used in this article.
For the price of USD 19.99, the Anker cables are a big bargain and worth the buy for anyone who needs to charge both iPhone and Android devices.
Charging Speed Test Review: Anker Powerline II 3-in-1 Cable Read More »